Creating interactive widgets
with HTML can significantly enhance the functionality and user experience of your website. Widgets are small
applications that can be embedded into your web pages to perform a variety of tasks, from displaying the
weather to providing a calculator.
In this guide, we will explore how you can create
these interactive elements using HTML, and make your web pages more engaging and useful.
Understanding HTML Widgets
HTML widgets are essentially custom elements that you
can add to your web pages. They are built using HTML, CSS, and JavaScript, and can range from simple
buttons to complex interactive features. By learning how to create widgets, you can provide your users
with tools that enhance their browsing experience, making your website more interactive and
user-friendly.
The Importance of Widgets in Web Design
Widgets play a crucial role in modern web design.
They allow you to:
Enhance User Interaction: Widgets can make your site more interactive, encouraging
users to engage with your content.
Provide Useful Tools: They can serve as tools that offer additional
functionalities, such as calculators, forms, and information displays.
Improve User Experience: Well-designed widgets can make navigation easier and
improve the overall user experience on your site.
Getting Started with HTML Widgets
Before you start building widgets, it's
essential to have a good understanding of HTML, CSS, and JavaScript. These are the building blocks of
any web widget. Let's break down the steps to create a basic HTML widget.
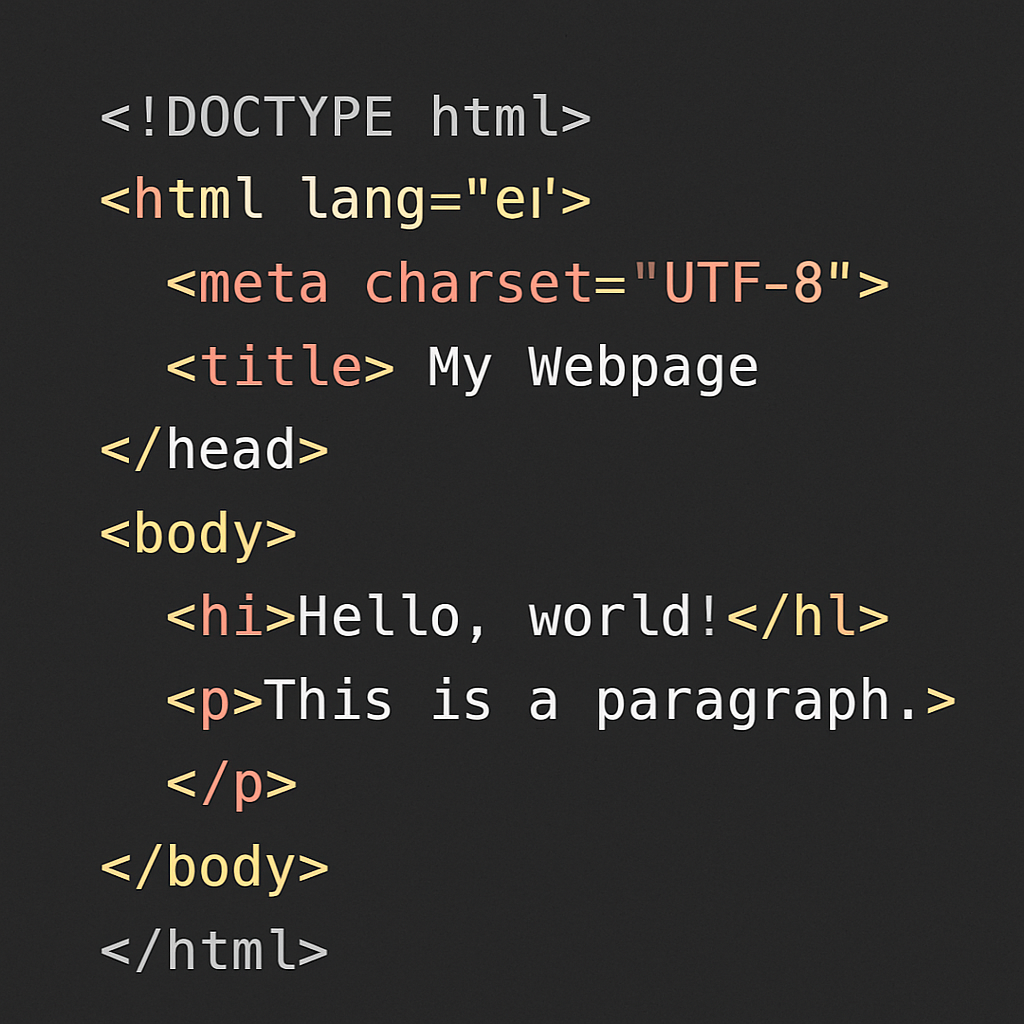
Step 1: Setting Up Your HTML Structure
Start by creating a basic HTML structure. This will
be the foundation of your widget. Here's an example of a simple HTML setup:
In this setup, the div with the id myWidget is where your widget's content
will reside.
Step 2: Styling Your Widget with CSS
CSS is used to style your widget and make it visually
appealing. You can control the layout, colors, fonts, and more. Here's a simple CSS example:
This CSS styles the widget with a border, padding,
and a light shadow, making it stand out on the page.
Step 3: Adding Interactivity with JavaScript
JavaScript brings your widget to life by adding
interactivity. For example, if you want your widget to display a message when a button is clicked, you
can use JavaScript to handle that interaction.
In this example, a button is added to the widget, and
clicking it displays a message.
Advanced Widget Features
Once you have mastered the basics, you can explore
more advanced features for your widgets. This can include:
Responsive Design
Make sure your widgets look great on all devices by
using responsive design techniques. CSS media queries can help you adjust the widget's layout based
on the screen size.
Adding animations can make your widgets more dynamic
and engaging. CSS and JavaScript offer a variety of options for creating animations and transitions.
Data Integration
Widgets can also interact with data sources, such as
APIs, to display dynamic content. For example, a weather widget could use an API to fetch the latest
weather data.
Practical Examples
To help you get started, let's look at a
practical example of a simple weather widget.
This example demonstrates a simple widget that
displays weather information after a simulated API call.
Conclusion
Creating interactive widgets with HTML is a valuable
skill for any web developer. By combining HTML, CSS, and JavaScript, you can build versatile and
engaging components that enhance your website's functionality and user experience. Whether
you're a beginner or an experienced developer, experimenting with widgets can be a rewarding
way to improve your web development skills. Start creating your own widgets today and see the
difference they can make on your site!
Ready to Build Interactive Widgets?
Bulletlink provides powerful tools and
widgets to enhance your website's functionality and create engaging user experiences.